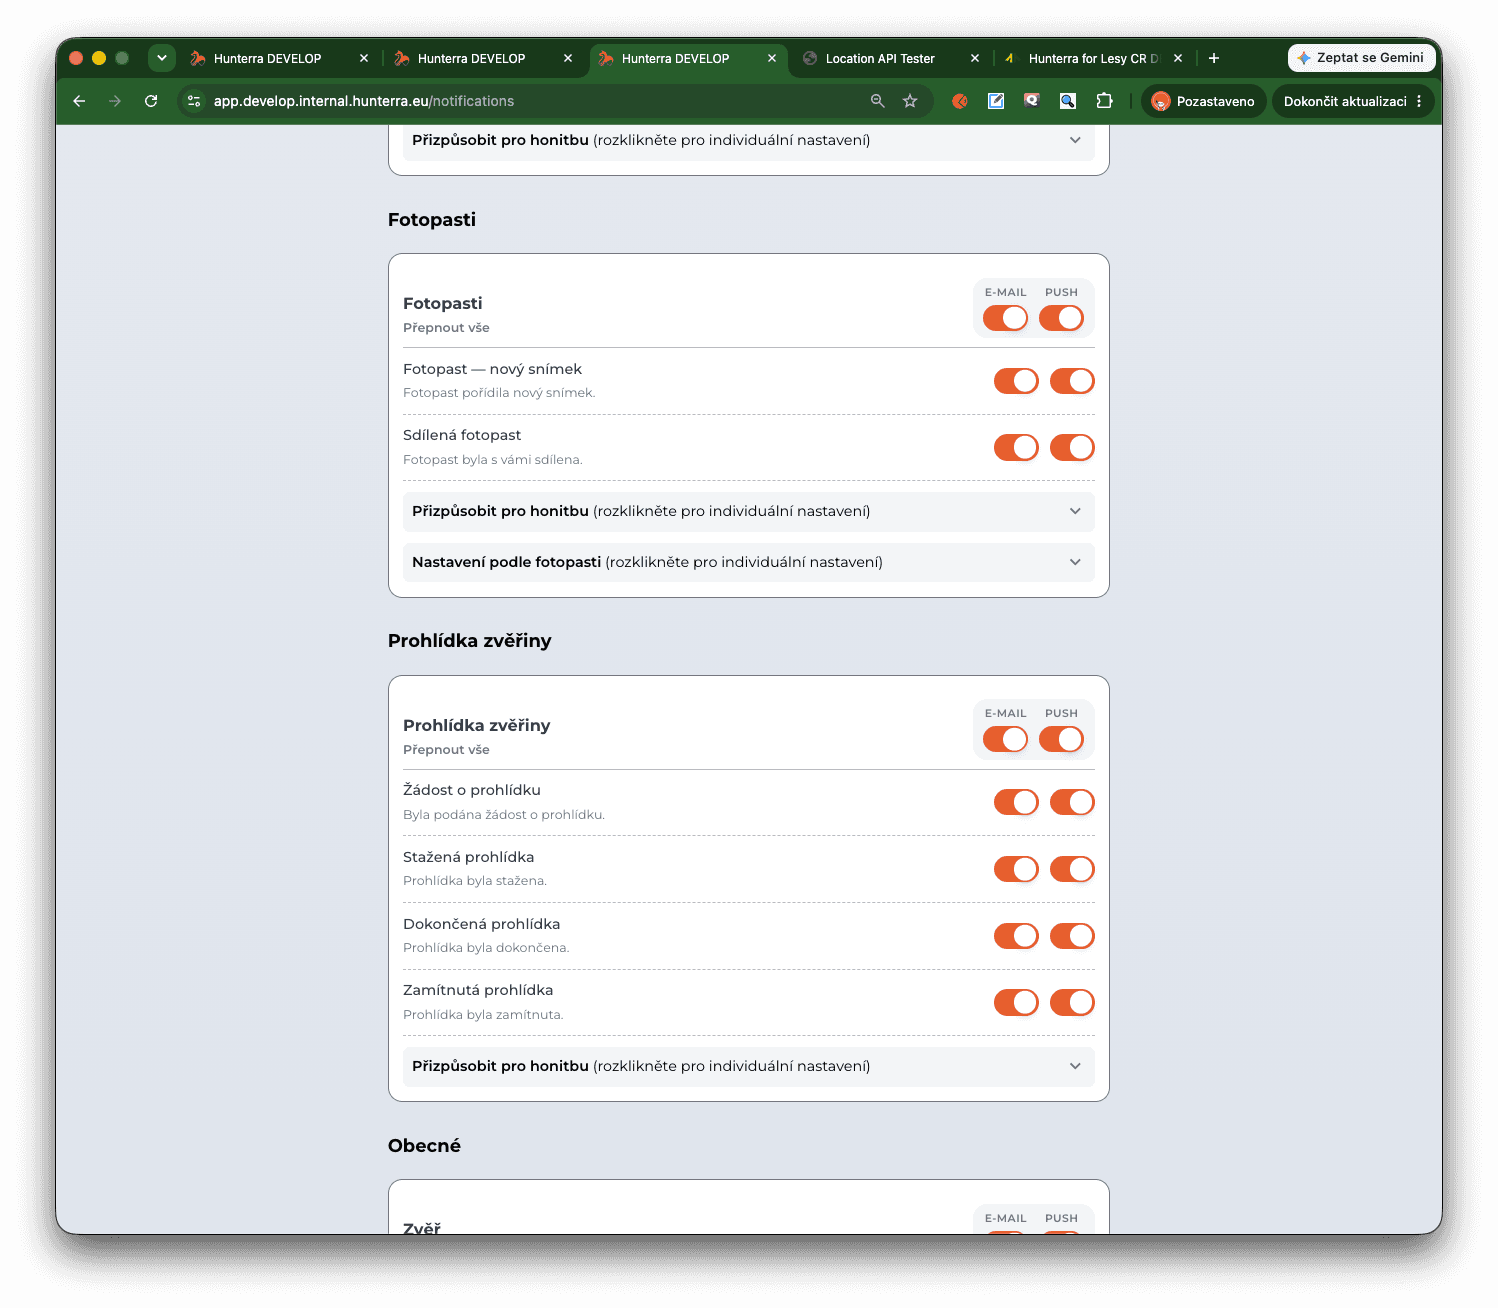
Trail camera integration
Link a trail camera to a point of interest in the map and its photos arrive straight in the app. Access is handed out by code or QR, and notifications can be set per ground or per camera.
Written by David C. HájíčekManaging director, HUNTERRA
You enable the trail camera integration in the account settings, then create a point of interest of the trail camera type in the map and use the Link camera button to get the configuration to enter on the device itself. From then on the photos arrive in the app. Access is handed out with a share code or a QR code and the number of users is not limited. Notifications can be set for all cameras, for a hunting ground, or for one particular camera.
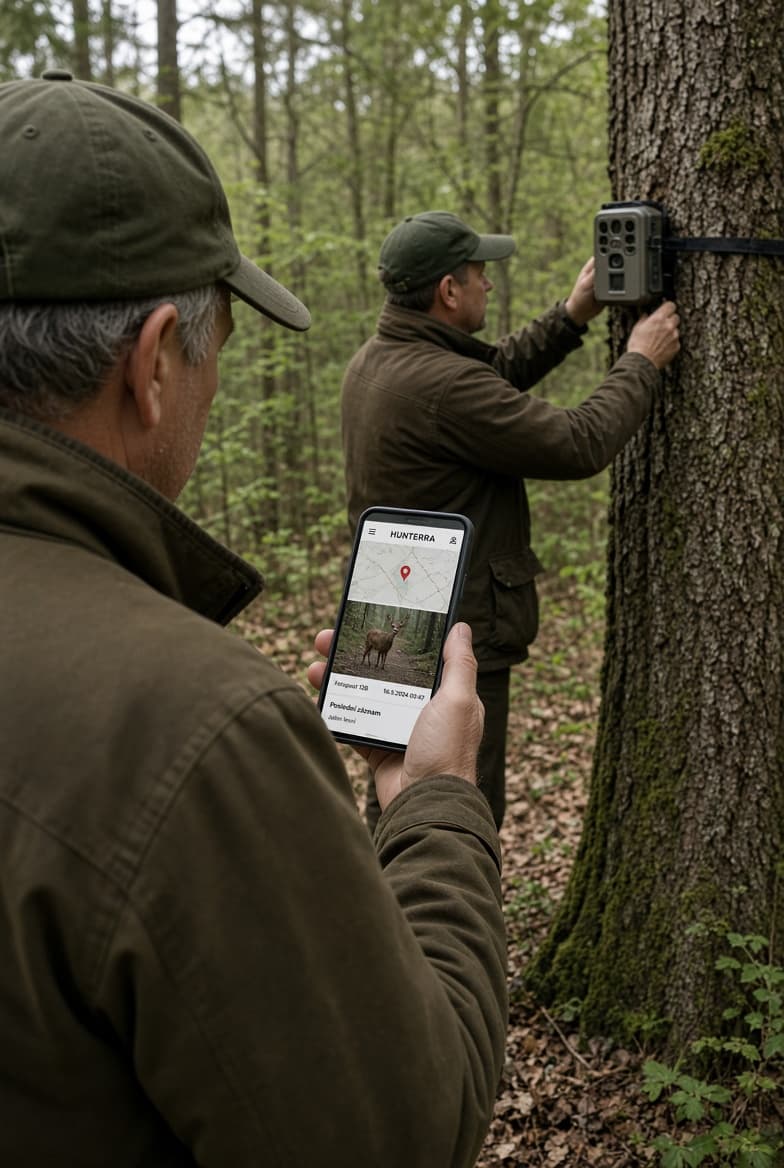
You no longer have to check your trail cameras only out in the field, install a pile of mobile apps, or lose yourself in a flood of e-mails. With HUNTERRA you connect them straight to the map and their photos come right into the app — clearly laid out, safely, and under your control.
One tap links a physical trail camera to a point of interest, you set who may see what, and you can immediately share interesting shots with everyone in the hunting ground, or pick just some of them. No wondering which app the photos ended up in, no flooded mailboxes, no guessing who has seen what.
Want to connect a physical trail camera out in the field to a point of interest created in the map? Here is how:
Enable the integration
In your user account settings go to the Integrations tab and enable the trail camera integration. That switches on all the features for connecting cameras. Extra buttons and options appear directly on points of interest of the trail camera type.
Link the camera
Create a point of interest of the trail camera type in the ground map. In that point, tap the Link camera button. The system shows you the configuration to enter on the camera itself. Once you have done that, every photo from your camera will arrive in HUNTERRA.
As with any point of interest, you can also attach photos to a camera by hand. Pick them from the gallery or take them with the camera on your phone. Typically these are pictures of the trail camera itself, so that you do not forget where it is placed.
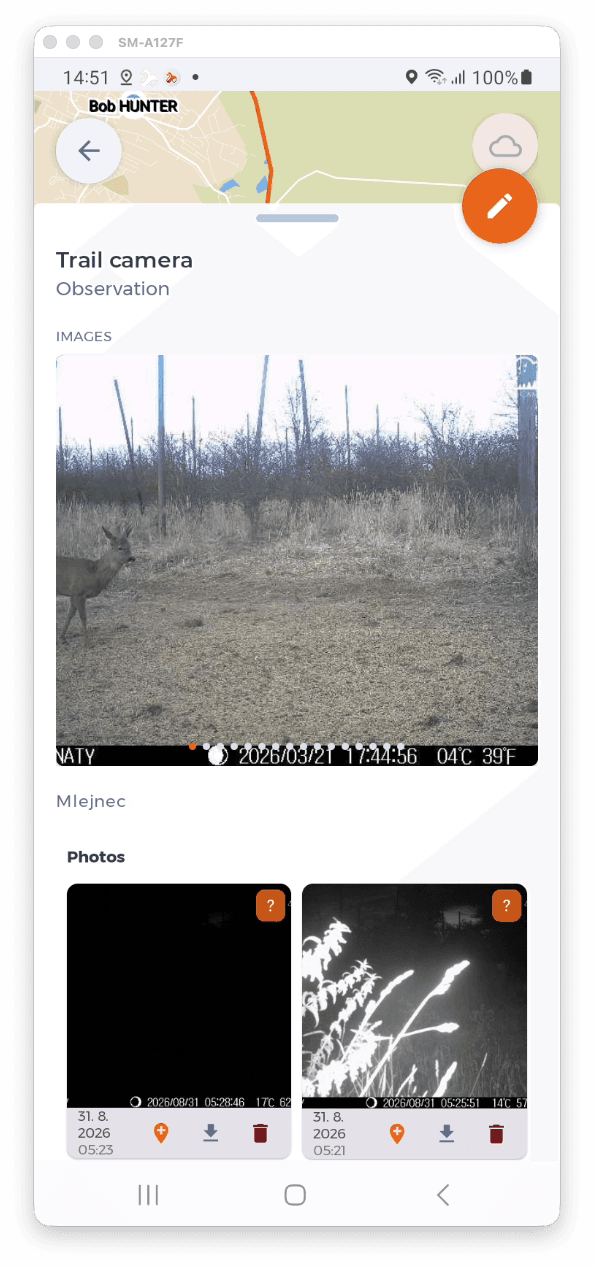
You can also attach photos to the camera by picking them from the payload coming in from it. The photos you pick that way become available to everyone in your hunting ground. Photos from the payload can also be deleted or downloaded into the gallery.
Manage access to the photos
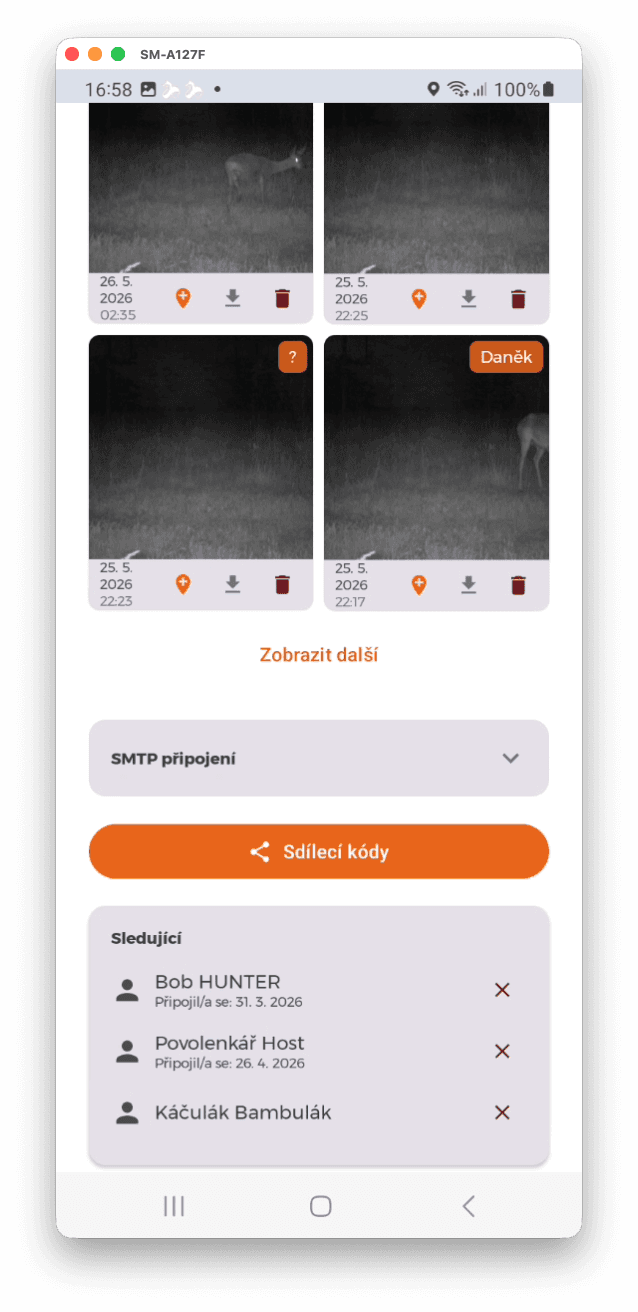
If you want to grant access to all the photos coming from a camera, you can generate share codes and pass them to selected users. They use the code to connect to the camera and can follow all the images. They cannot delete them or add them to the photos visible to all members of the ground.
The list of users with access to the images can be changed at any time in the settings of that camera. There is no limit on the number of users you grant the right to follow your photos. They only need the trail camera integration enabled.
Connect to a colleague's camera
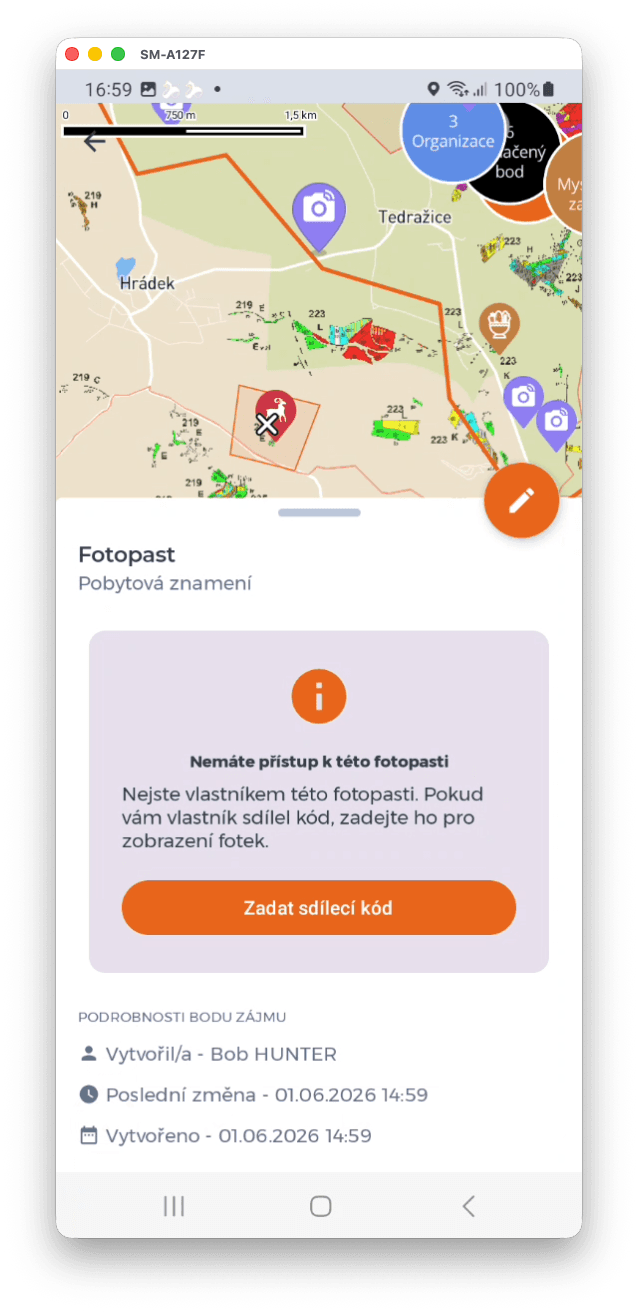
To follow the photos from a camera, you need a code from its owner. They generate it easily in the camera settings. You then enter the code in the details of their camera in the map.
The code can be typed in or scanned as a QR code. CAREFUL! You must enter the right code for the camera you have selected. If you are adding several cameras at once, make sure you are entering the code generated by that particular camera. If you enter a code belonging to a different camera, the link will not be made.
Set up your notifications
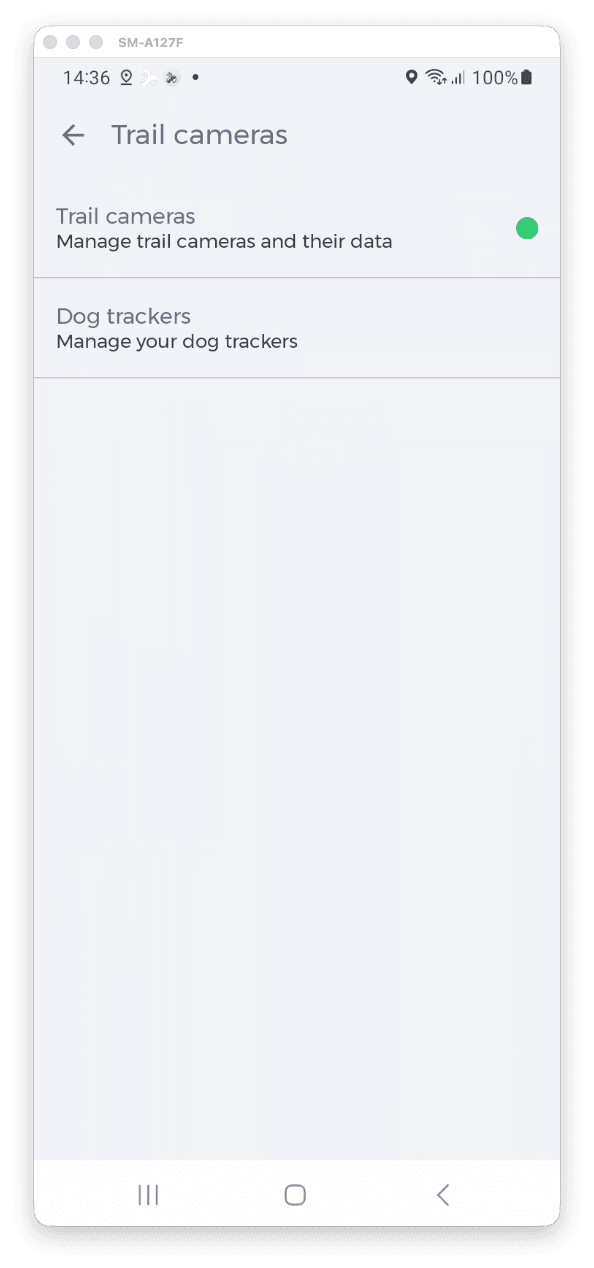
So that no photo escapes you — and so that HUNTERRA does not spam you too much — choose which notifications you want to get. You can set them for all cameras, for the cameras in a chosen hunting ground, or for particular cameras.